
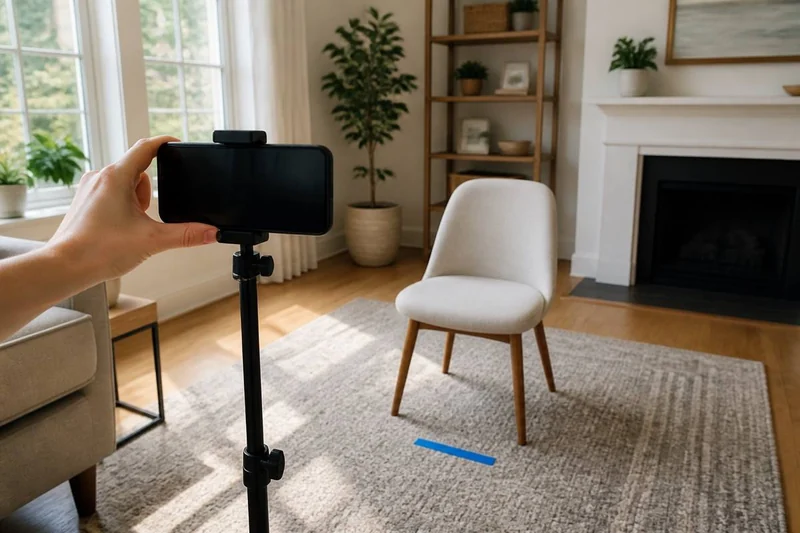
1. Choose the frame before the support
Decide whether the shot is seated, standing, overhead, or hands-only. Use the rear camera when practical, clean the lens, and select vertical orientation for a vertical short. The support only matters after the target shot is clear.
Lane Community College's smartphone-video guidance recommends stabilizing the phone and paying attention to lighting and sound. Northwestern's self-recording tips similarly address camera position, framing, light, and audio as a combined setup.
2. Put the lens near the intended eye line
For a direct-to-camera segment, start with the lens near eye level. Look into the lens, not at your own image, and leave deliberate headroom rather than a large empty ceiling. This is a starting position, not a universal composition rule for demonstrations or overhead work.
3. Check the background and light
Face a window or another soft light when possible. Avoid placing a bright window directly behind the subject unless a silhouette is intentional. Remove background distractions that intersect the head or compete with the object being demonstrated.
4. Check sound before recording the full take
Silence notifications, listen for fans and appliances, and avoid covering the phone microphone. Record ten seconds at the actual speaking position. Play it back with the same framing and listen rather than assuming the phone captured clean sound.
Northern Illinois University's self-recorded-video guide advises testing the setup and using a tripod or support. Apply that setup advice to your recording, then choose a support that fits your phone, framing and shooting space.
5. Mark the repeatable positions
Use removable tape to mark the phone support, chair or standing point, and key light position. Rebuild the setup once. If the frame changes materially, determine which mark or support moved before buying equipment.
The ten-second preflight
Before each recording, confirm:
Use as you go
Your working checklist
0 complete
Finish with a setup you can repeat
When the ten-second playback looks and sounds right, save the floor marks and a reference frame. The next recording becomes faster because you are rebuilding a setup that already works.
For slipping or vibration, stabilize the phone on an existing surface. If the camera cannot reach the required position, compare a tripod with a shelf or desk clamp before choosing support.