
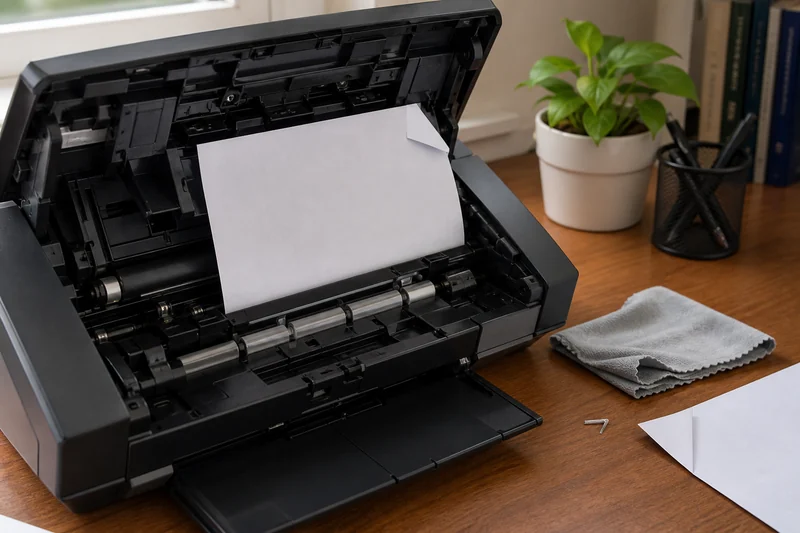
Find what interrupts the paper feed
A jam, double-feed, skew, or missing page can begin with the paper, the loading method, the feed path, a setting, or worn separation parts. Changing several things at once makes the next failure harder to explain.
Start with a safe controlled stack: ten clean, flat, same-size sheets that fall inside the exact model's supported paper range. Use copies, not irreplaceable originals, until the feed path is behaving normally.
Stop and clear the path safely
Find the manual through the exact manufacturer's product or support page, such as Epson's ES-400 II page or Ricoh's iX1600 page. Follow it for stopping the job, opening covers, removing paper, and closing the mechanism. Pulling against the documented direction can tear a sheet or leave fragments behind. Do not use a tool, solvent, lubricant, or compressed air unless the manufacturer specifically approves it.
If paper is inaccessible, a cover or roller is damaged, or the device reports a persistent hardware error, use the manufacturer's support route.
Read the failure pattern
| Symptom | First things to inspect |
|---|---|
| Two pages feed together | Static, glossy or damp sheets, mixed thickness, overloaded tray, dirty or worn separation parts |
| Page enters crooked | Bent corner, uneven stack, loose or pinching guides, debris in the feed path |
| Scanner stops mid-page | Unsupported length or thickness, obstruction, damaged edge, connection or power interruption |
| A side or page is missing | Duplex and blank-page-removal settings, pages stuck together, miscounted originals |
| Text is cut off | Page-size detection, guide alignment, skew correction, folded or irregular original |
Use the symptom to choose the next feed-path check.
Prepare one uniform stack
Remove staples, clips, sticky notes, and loose tape. Smooth dog-ears and folds. Separate sheets that cling together. Do not mix receipts, heavy cards, thin paper, and letter sheets in the first repeat.
Load below the published capacity and adjust the side guides so they touch the stack without bending it. Use any required carrier sheet for fragile or irregular originals. The exact manual decides what the feeder supports.
Clean only with the approved method
Paper dust and residue can reduce roller grip or separation. Use the model's cleaning sequence, approved cloth or kit, and maintenance interval. Let any approved cleaning area dry completely before scanning.
Some models track roller or pad life. A reset counter does not renew a worn part; replace consumables only with compatible parts and the documented procedure.
Check settings after the paper path
Automatic blank-page removal can hide a lightly printed page. Wrong page-size detection can crop an edge. A single-sided profile can omit every back. Review duplex, color, page size, rotation, blank-page sensitivity, and multi-feed detection using the same controlled stack.
Save a temporary diagnostic profile instead of overwriting the workflow that normally works. After each test, compare the original count with the output count before filing or shredding anything.
When repeated failure justifies support or replacement
Escalate when a clean supported stack still fails after correct loading, approved cleaning, verified settings, and any documented firmware or driver steps. Record the model, serial or date code, page count if available, paper type, error message, failure position, and a photo of the stack and feed path.
Replacement becomes reasonable when repair or parts are unavailable, software support no longer matches the computer, or the scanner's basic format is wrong for the workload. A manual single-sheet scanner that is merely slow for weekly duplex stacks is not malfunctioning; it is mismatched.
Bottom line
Use a clean uniform test stack, verify the paper range and loading, align the guides, clean with the approved method, and check duplex and blank-page settings. Change one variable at a time and count originals against outputs before destroying a document.
If the scanner works but the workflow remains too slow, map the real load with the home-office scanner guide and compare the three research lanes.