
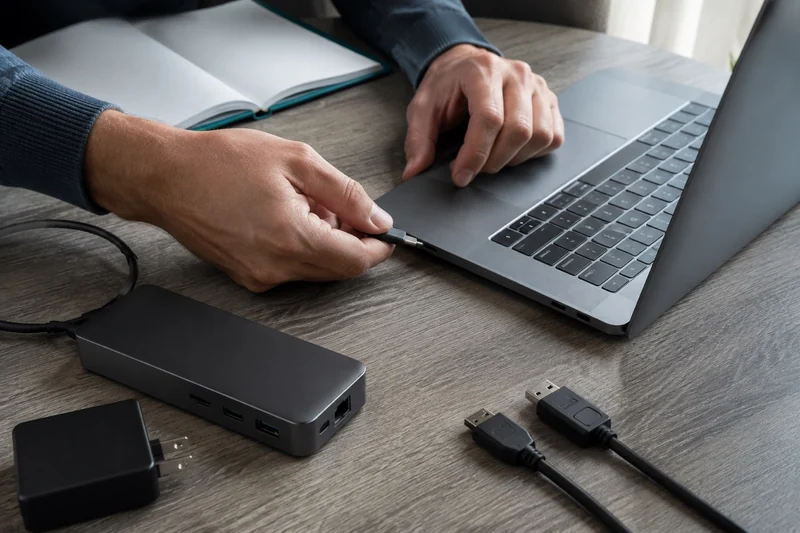
Build your monitor setup
Keep what you have.
Find the parts you need.
Match your laptop, screens and connections in three short steps.
Your setup
Parts to add
As an Amazon Associate I earn from qualifying purchases.
Your equipment covers this connection plan. Nothing to buy.
Connection steps & important fit checks
Use the laptop and dock makers’ current firmware and drivers. These are matches to published specifications, not a hands-on test of your equipment. Confirm the exact model and seller’s package before ordering.
Did this help you decide what you need?
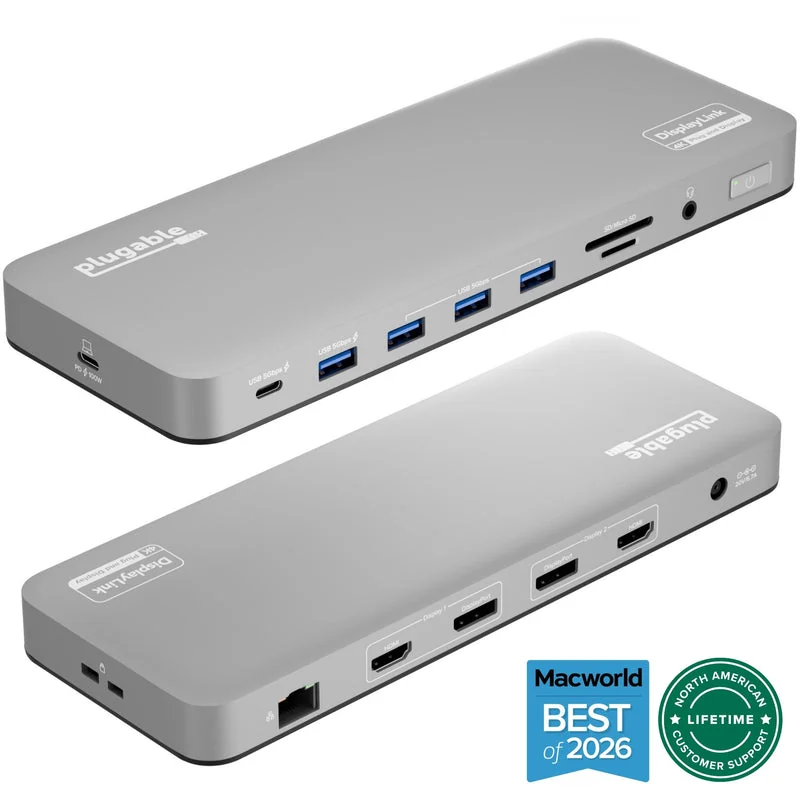
Plugable UD-6950PDH
Two independent office screens through one dock.
Power supply and laptop cable included.
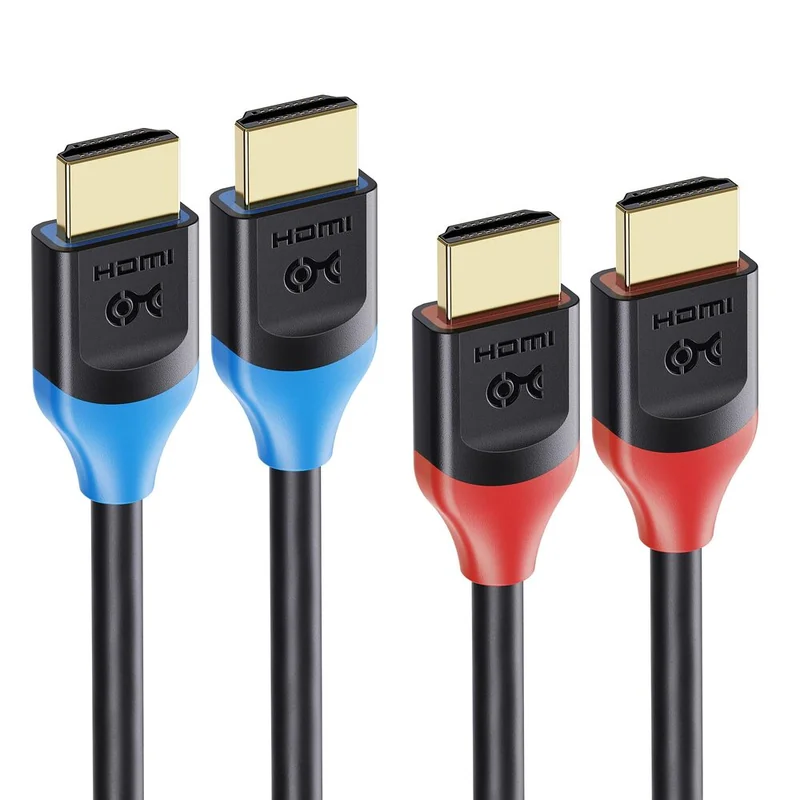
Cable Matters HDMI cables · 2-pack
One pack connects both monitors.
6.6 ft / 2 m each · buy 1 pack.
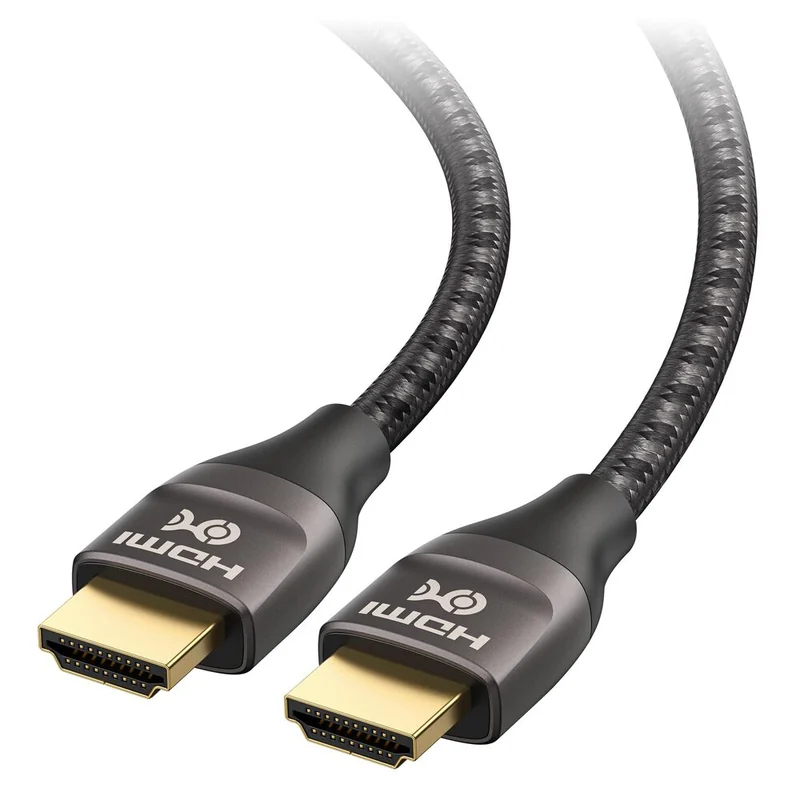
Cable Matters HDMI cable
Keep your existing cable and add one connection.
6.6 ft / 2 m · buy 1 cable.
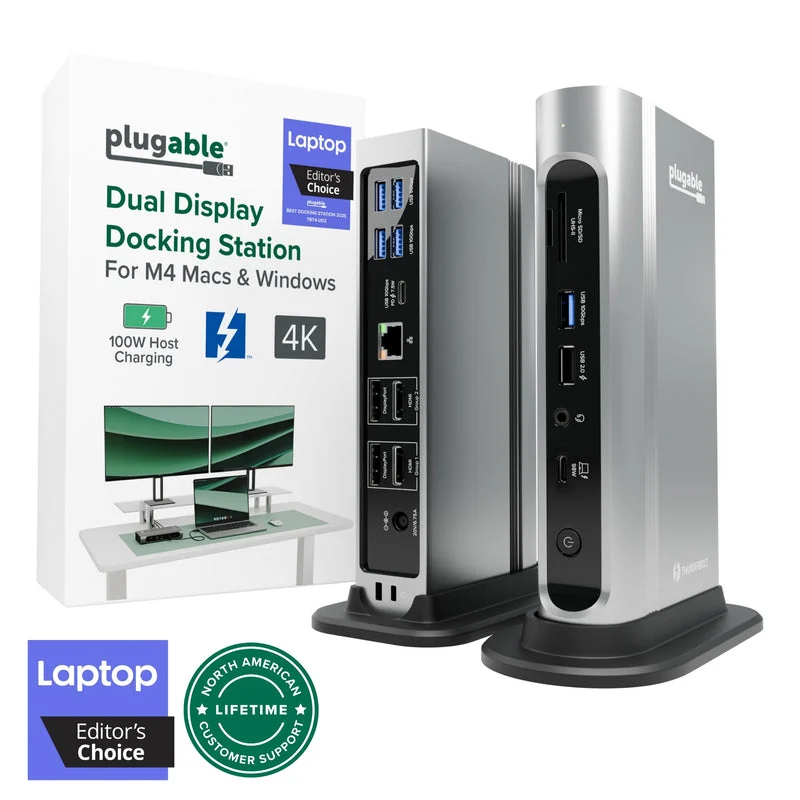
Plugable TBT4-UDZ
One laptop connection for your screens and everyday desk devices.
Thunderbolt 4 laptop cable and power supply included.
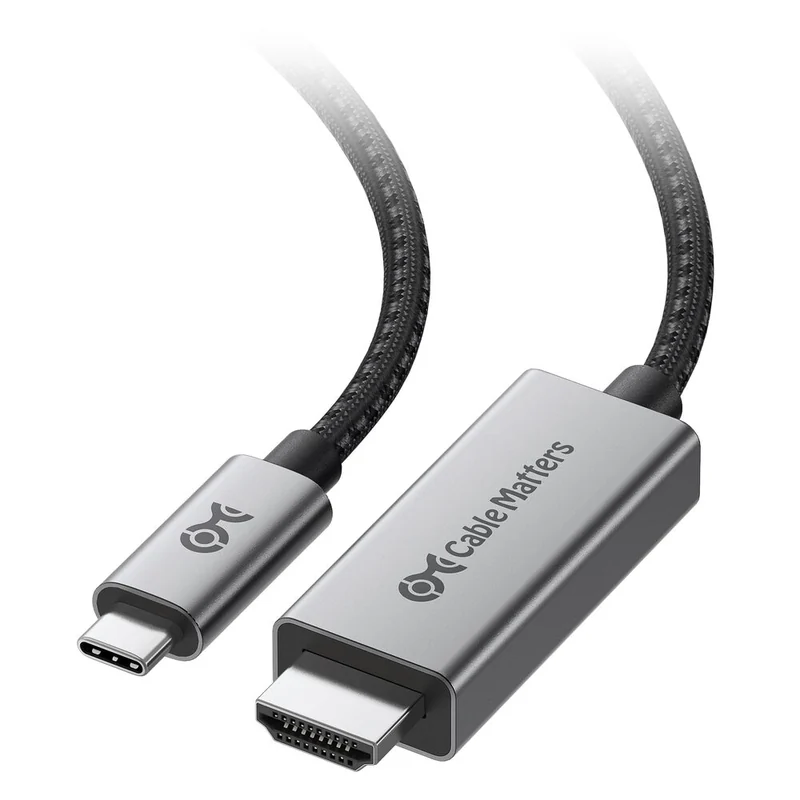
Cable Matters USB-C → HDMI cable
Connect an HDMI monitor directly to a video-capable USB-C port.
6 ft · one cable per direct USB-C connection.
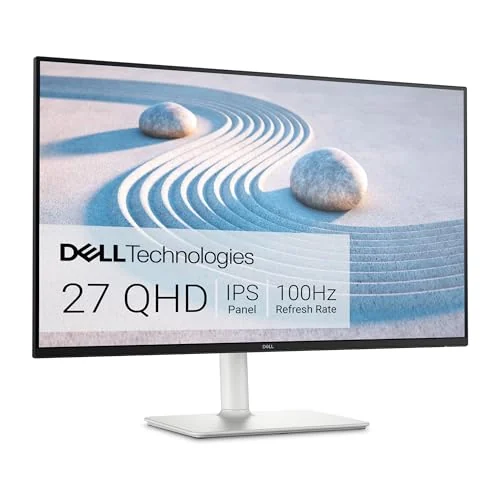
Dell S2725DS · 27-inch QHD
An adjustable 27-inch screen for everyday documents and multitasking.
2560 × 1440 · speakers, stand, HDMI and power cables included.
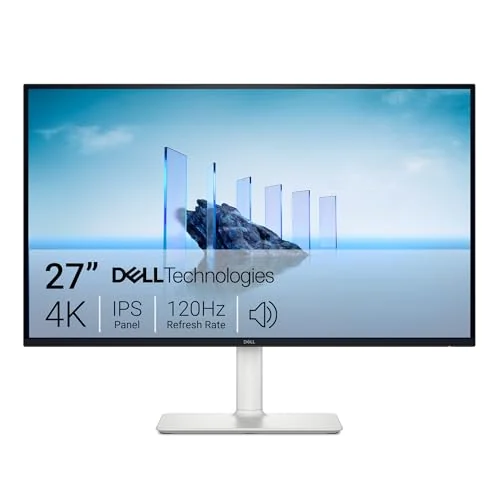
Dell S2725QS · 27-inch 4K
Finer text detail at the same 27-inch size. Adjust display scaling to keep text comfortable.
3840 × 2160 · speakers, stand, HDMI and power cables included.
Sources & supported setups
Specification checks: September 10, 2026. Selected MacBook Airs and Windows laptops; one or two HDMI office screens, up to 4K at 60 Hz.
- MacBook Air M1 (2020)
- MacBook Air M2, 13-inch (2022)
- MacBook Air M3, 13 / 15-inch
- MacBook Air M4, 13 / 15-inch
- MacBook Air M5, 13 / 15-inch
- ThinkPad X1 Carbon Gen 12 · Windows
- Surface Laptop 7 · 13.8 / 15-inch, Snapdragon
- Plugable UD-6950PDH
- Cable Matters HDMI cables · 2-pack
- Cable Matters HDMI cable
- Plugable TBT4-UDZ
- Cable Matters USB-C → HDMI cable
- Dell S2725DS · 27-inch QHD
- Dell S2725QS · 27-inch 4K
- TBT4-UDZ simultaneous displays and output groups
Manufacturer and retailer product photographs. Dell package contents refer to new retail monitors.
Choosing a new 27-inch screen? Compare 1440p and 4K for office work before matching the connections.
Use the equipment you already have
Keep the laptop and monitor model names handy. You only need to identify the setup once; then you can compare the three hub and dock options against the same requirements.
| Quick check | Your answer | If you are unsure |
|---|---|---|
| Laptop | Exact model and Windows or macOS version | Check the computer’s About screen or model label; on a Mac, include the chip |
| Screens | One, or two showing different windows | Count external screens separately from the laptop display |
| Picture | Resolution and refresh rate for each screen | Read the monitor specification or its display settings |
| Charging | Charge through the dock, or keep the laptop charger | Check the laptop’s USB-C PD support and required charging power |
| Software | Allowed, blocked by work, or unknown | Ask IT before selecting a DisplayLink route |

1. Match the laptop port to the job
The connector’s shape is not enough. Read the specification for the exact port you will use: does it support video, charging, Thunderbolt or USB4, and under what conditions? A dock cannot add a native display capability that the computer does not supply.
CalDigit’s TS4 documentation illustrates the distinction. The dock connects to several types of USB-C-shaped port, but available displays and Ethernet depend on the host. Match the complete feature set you need rather than relying on the word “compatible.”
2. Decide whether the screens need different content
For email on one monitor and a spreadsheet on the other, you need independent extended displays. Mirroring repeats the same desktop. The Anker 565 page explicitly documents different results: its two external outputs can extend on Windows but mirror each other on a Mac.
For a Mac, check the chip and exact model before selecting a native-video dock. A supported DisplayLink device can offer another route, but it brings a software requirement. Keep that choice connected to the work you will do on those screens.
3. Read the simultaneous two-screen mode
Look for the dock's two-screen specification for your laptop connection. Record both resolution and refresh rate, such as 1920 × 1080 at 60 Hz on each screen. Then check the dock’s specification under your laptop’s connection standard.
For example, Anker’s A8388 manual lists a lower two-screen mode than its maximum single-screen mode. If a manufacturer uses a label such as “2K” without pixel dimensions, confirm your exact resolution instead of interpreting the shorthand yourself.
4. Compare the power reaching the laptop
Use the dock’s host charging output, not the wattage printed on its power brick or the hub’s power input. The Anker 565 accepts up to 100 W but lists up to 85 W to the laptop. Its separate charger and charging cable are additional items unless you already own suitable ones.
The laptop must also support USB-C charging on that port. If the dock’s output is below the laptop’s documented requirement for the intended workload, keep the laptop charger in the plan. One extra cable can be preferable to changing a dock that otherwise meets your needs.
5. Check software before spending
The Plugable UD-6950PDH needs DisplayLink software to show an image. macOS requires an installation and screen-recording permission; a managed work computer may need IT approval. Plugable also identifies limits for games, video editing and protected video. A useful office setup is not automatically the right media or gaming setup.
Once these five answers are clear, choose from the side-by-side dock comparison. List the required host cable, power supply and two display cables before ordering. If a screen already fails to connect, start with the direct-connection troubleshooting steps before replacing the dock.