
Start with the job, not the container
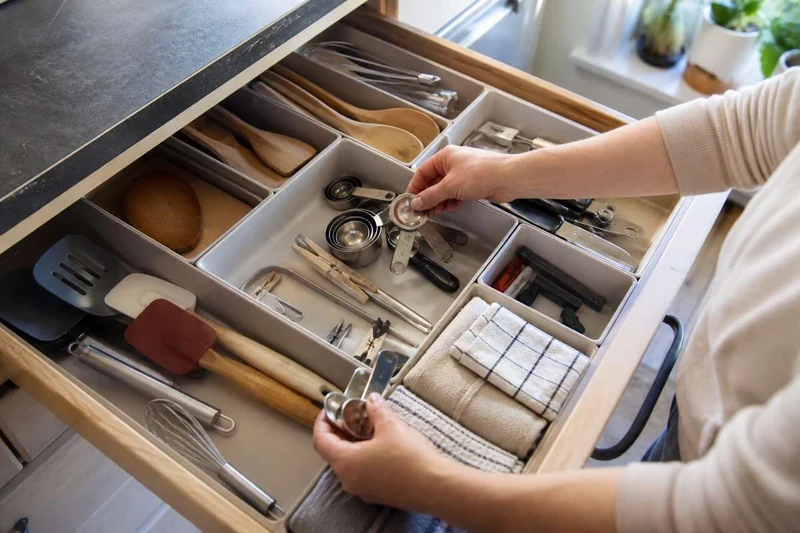
Start with an empty drawer, then group the items you reach for together. First decide what job the drawer should support: everyday flatware, food preparation, cooking tools, towels, food storage, or a deliberately limited mixed-items drawer.
Lowe's current kitchen-drawer guide recommends decluttering, grouping similar items, and assigning drawers a purpose. StorageCafe's current guide similarly starts with a drawer role and placement near the task rather than a specific product.
One drawer can contain several small categories, but it should still have one main reason to exist. A drawer that is expected to hold every object without a home will outgrow almost any organizer.
Place each job where it happens
Map the kitchen into a few work zones before returning items:
- Prep: measuring tools, peelers, graters, and frequently used knives where food is prepared.
- Cooking: spatulas, tongs, and heat-safe tools near the cooking surface.
- Serving: flatware, napkins, and serving tools near plating or dining.
- Cleanup: towels, wraps, bags, and cleaning accessories near their point of use when the drawer is suitable and safe.
The goal is not a perfect-looking photo. It is fewer unnecessary reaches during the task. Frequently used items belong in the easiest visible positions. Rarely used tools should not block the daily path simply because they fit.
IKEA's current kitchen-organization guide also recommends grouping items by task and keeping everyday tools close to the work zone. Use that principle to place your most-used tools where you prepare food.
Use four checks before buying an organizer
1. Purpose
Can you describe the drawer's main job in one short sentence? If not, reduce or relocate categories before adding compartments.
2. Placement
Is the drawer near the task it supports? Moving a category to a better drawer can solve the problem without purchasing anything.
3. Fit
Use the drawer measurement and clearance guide: three width checks, three depth checks, and the closed-drawer height. Keep the smallest usable dimensions and record rails, screw heads, lips, or other obstructions.
4. Reset
Can every item return to its zone without rearranging several other items? If the layout cannot be reset quickly, more compartment walls may make it worse.
How to organize a utensil drawer around the real contents
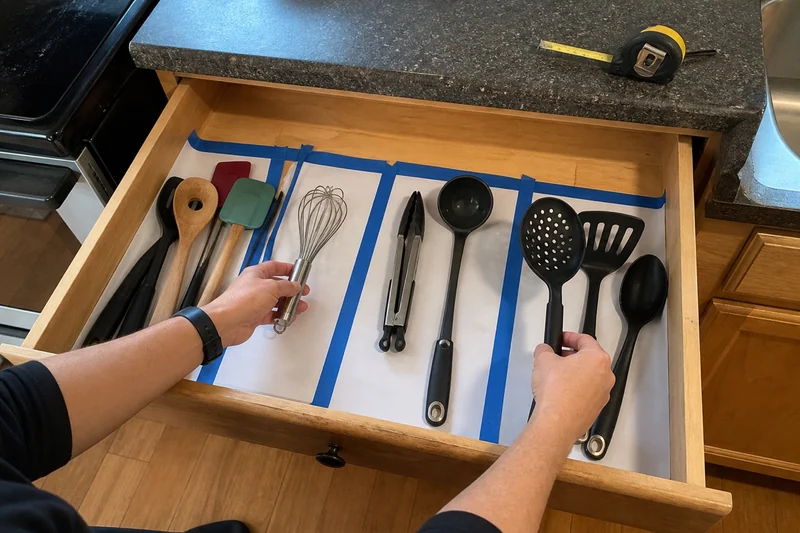
Before choosing bins, trays, or dividers, group the objects that will return and place them in the empty drawer. Use paper strips, painter's tape, or clean boxes you already own to mark possible zones.
Check five failures:
- A long item blocks several smaller categories.
- Frequently used tools sit under or behind occasional tools.
- A proposed wall creates a gap too narrow to use.
- Tall items enter the closing path.
- The layout works only when every item is placed perfectly.
This mockup does not reproduce organizer wall thickness, grip, or durability. It does show whether the compartment pattern fits the actual work before money is spent.
Choose the organizer type only after the layout works
Fixed trays are options when the item categories and dimensions are stable. Individual bins are options when a group needs to lift out together or small items need their own bottom and walls. Adjustable dividers are options when item lengths or category widths change.
The bins-versus-dividers comparison shows how shape and flexibility affect your packing space.
Every added wall consumes space. An organizer is useful only if the access, separation, or reset benefit is worth the floor area it takes away.
Run a seven-day drawer audit
Use the layout for seven normal days before treating it as finished. At the end of the week, note:
- items that never returned to their assigned zone;
- categories that migrated toward the front;
- objects that became hidden or hard to remove;
- unused compartments and narrow wasted strips;
- anything that stopped the drawer from closing normally.
Change one failed zone at a time. The useful result may be fewer categories, a different drawer assignment, one divider, or no new organizer at all.
If the layout still needs a tray, compare drawer organizers by fit and utensil shape. Use your drawer measurements and the items that need a home to narrow the options.
What you still need to check
- Your household's routines and drawer contents determine whether the zones remain useful after normal use.
- Fit, capacity, stability, and cleaning depend on the exact drawer and organizer.
- Test the layout with the items you reach for most before buying storage. This guide does not recommend one organizer for every kitchen.